

- Step 1 : Install Theme
1. Install Default Way
- Step 1: Go to Appearance > Themes and click Add New
- Step 2: Search for the Eduna LMS
- Step 3: Click Install and activate the theme.
2. Install Via FTP Client
- Step 1: Download a Copy of Eduna LMS Theme from our site & Unzip It.
- Step 3: Now Connect to the FTP server using the FTP details and copy the extracted folder to the ‘your-website/wp-content/themes/’ path.
- Step 4: Now, go to the Dashboard > Appearance > Themes.
- Step 5: Activate the Eduna LMS
- Step 2 : Install Required Plugins
Install Plugins
- Step 1: Go to Appearance > Install Plugins and click Add New
- Step 2: You’ll be redirected to a page where all needed plugins are listed. Just click on Install below each plugin’s name then install all plugins.
- Step 3 : Download Content
Download & Save to local folder.
Before install our Eduna LMS Elementor Theme. You have to download this assets. After that we’ll import to our website on the next step.
You will get Demo Data just save to a safe folder.
- Step 4 : Import Demo Data
You can easily import all of the demo data and images. You have already downloaded copy of demo content on your local file which you downloaded on step3
4. Import Data
- Step 1: Go to Tools > Import WordPress
- Step 2: Upload XML Import content from your downloaded files then click on Continue & Import button.
- Step 5 : Homepage & Menu
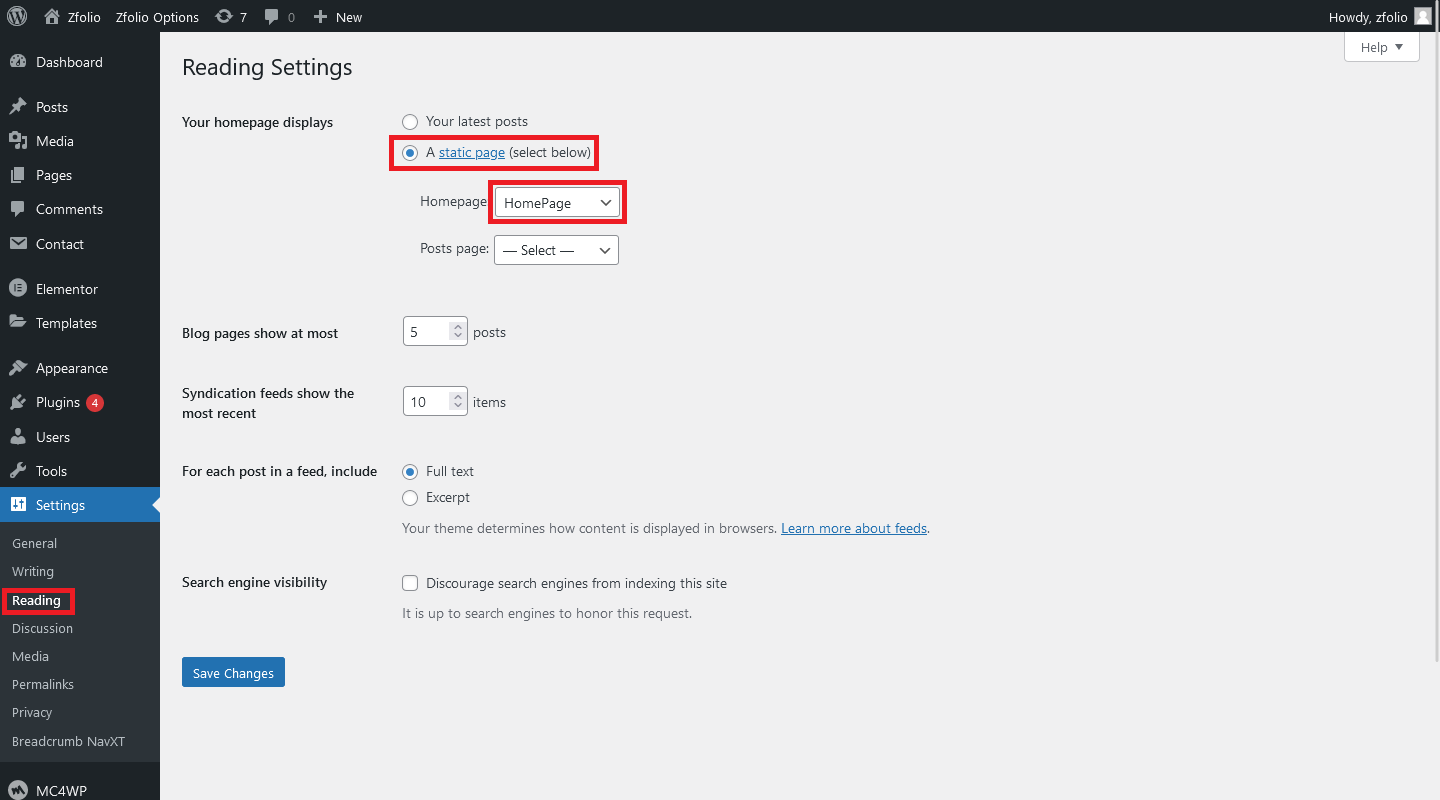
1. Homepage Setup
- Step 1: Go to Settings > Reading
- Step 2: From Your homepage displays option select A static page (select below) then select homepage
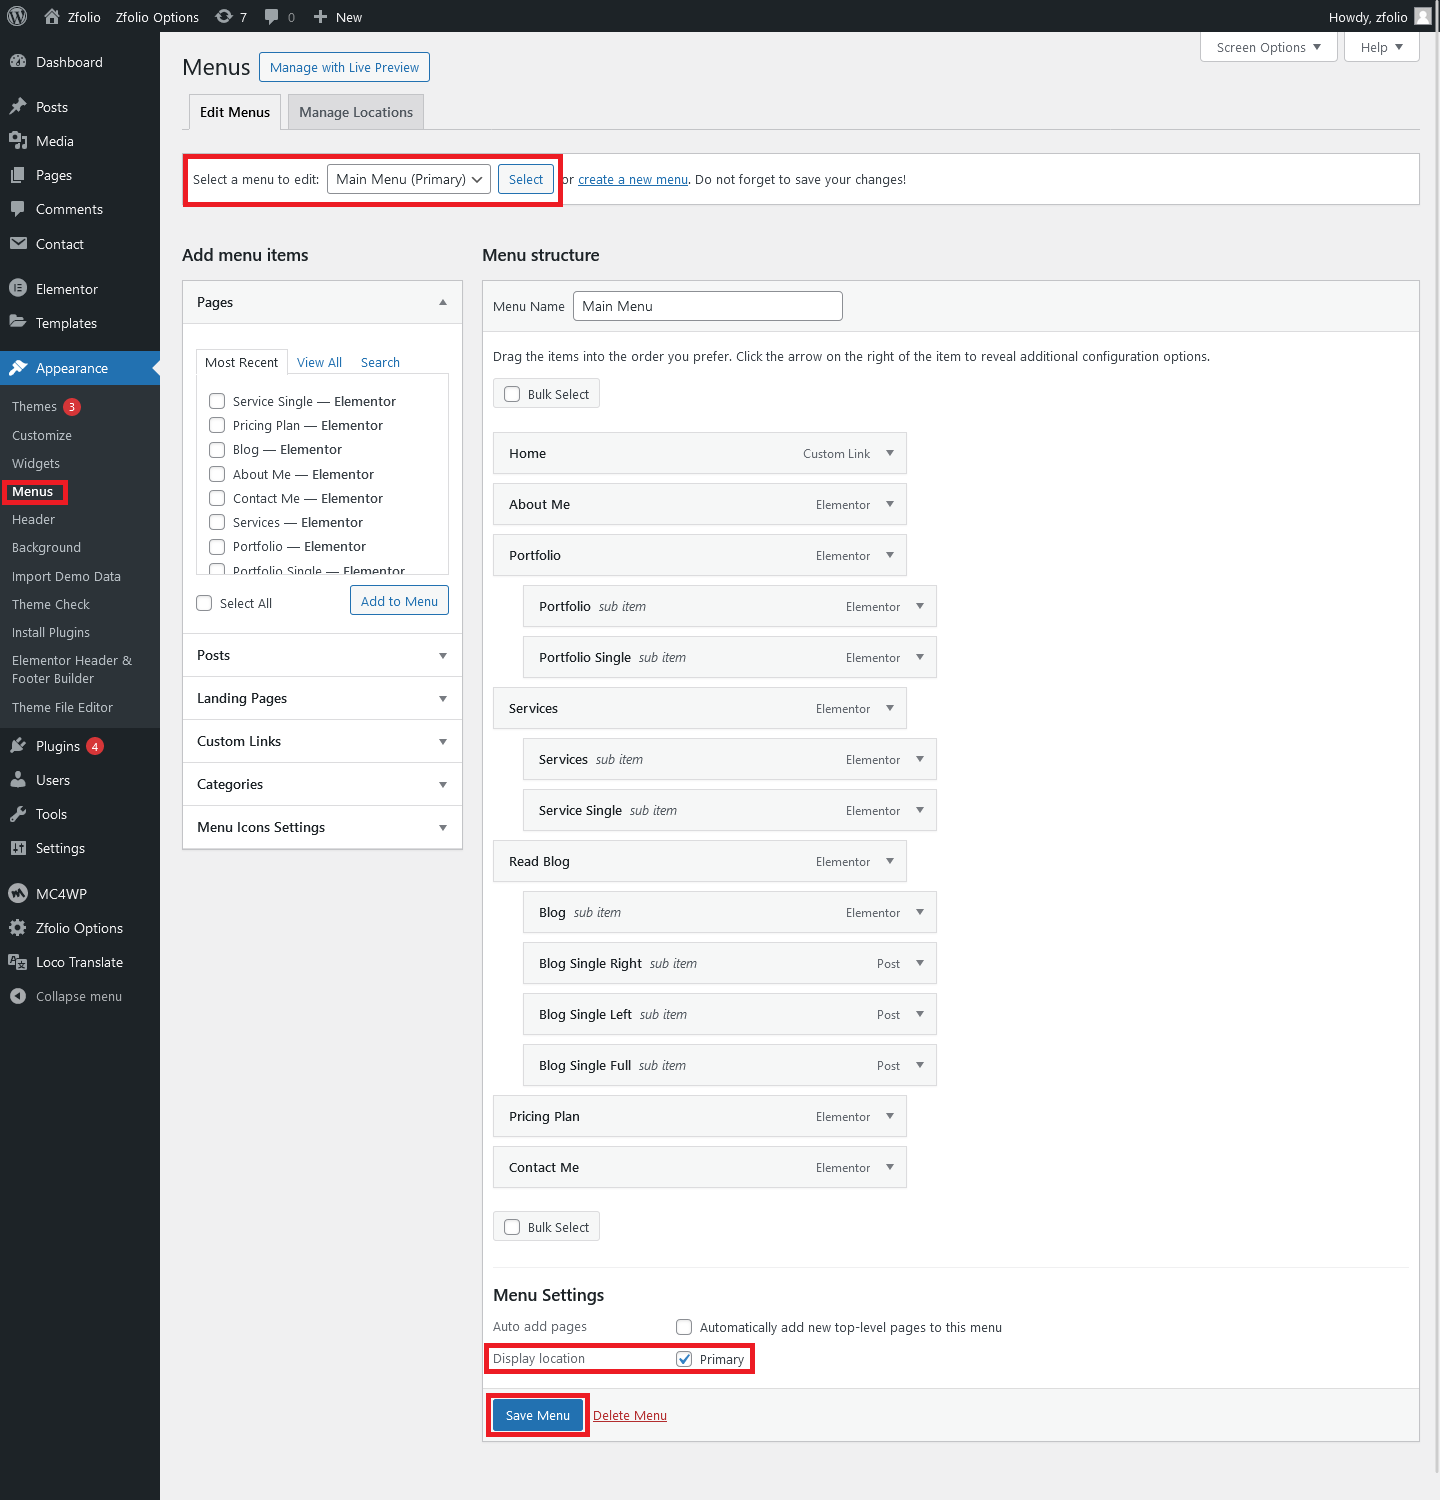
2. Setup Menu
Menu system works through WordPress core functions. Then we hope you don’t have any trouble with it. Please look at next images and follow the steps for your menu.
- Step 1: Go to Appearance > Menus
- Step 2: Select the menus from Select a menu to edit: which you want to use.
- Step 3: from the bottom of the menu bar Display location Select primary
- Step 4: Then You can edit menu and you can save again.
- Step 6 : How to Customize!
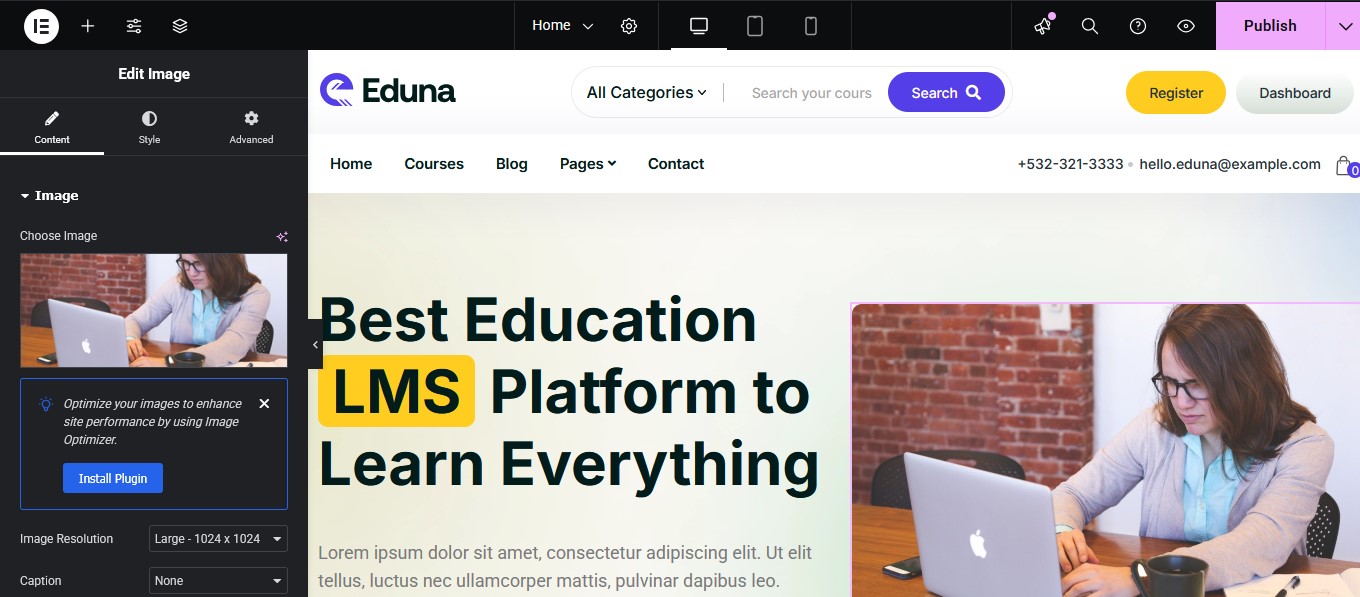
1. Customize Content
- Step 1: Go to Pages > Home
- Step 2: Hover and click on Edit with Elementor then you can edit homepage via elementor editor.
Customize Content
Just click on the specific section or elements. Then you can edit from the left sidebar of elementor then click save. It’s pretty easy enjoy 🙂
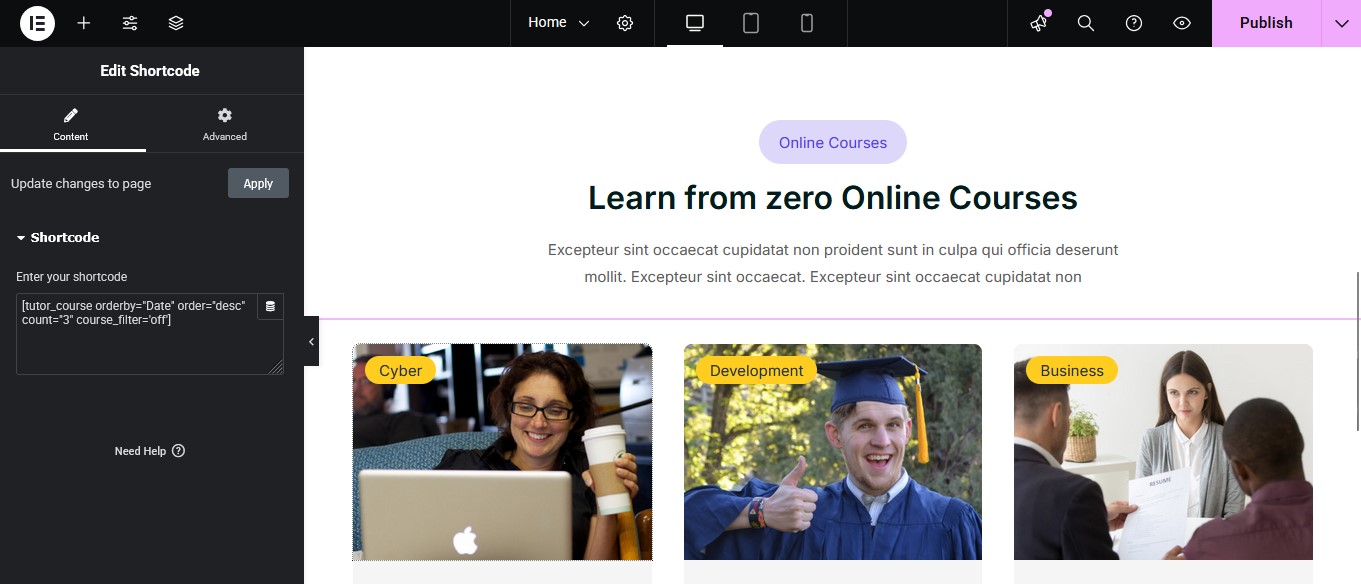
2. Tutor LMS.
We have used popular course builder plugin Tutor LMS . We Added shortcode where you can increase or decrease current post limit or orderby and other’s.
[tutor_course orderby=”Date” order=”desc” count=”3″ course_filter=’off’]
Here is Tutor LMS full documentation: https://docs.themeum.com/tutor-lms/shortcodes/
- Item Support
Once again, thank you so much for using Eduna LMS. If you need any help using the file or need special customizing, please feel free to contact us via Contact form. Thank you.
Email: [email protected]
- Paid Customization
We can Setup & Customize Everything for you including setup logo, your content and everything please feel free to contact us via Contact form. Thank you.